
TensorFlow.js Part 3 - Web App
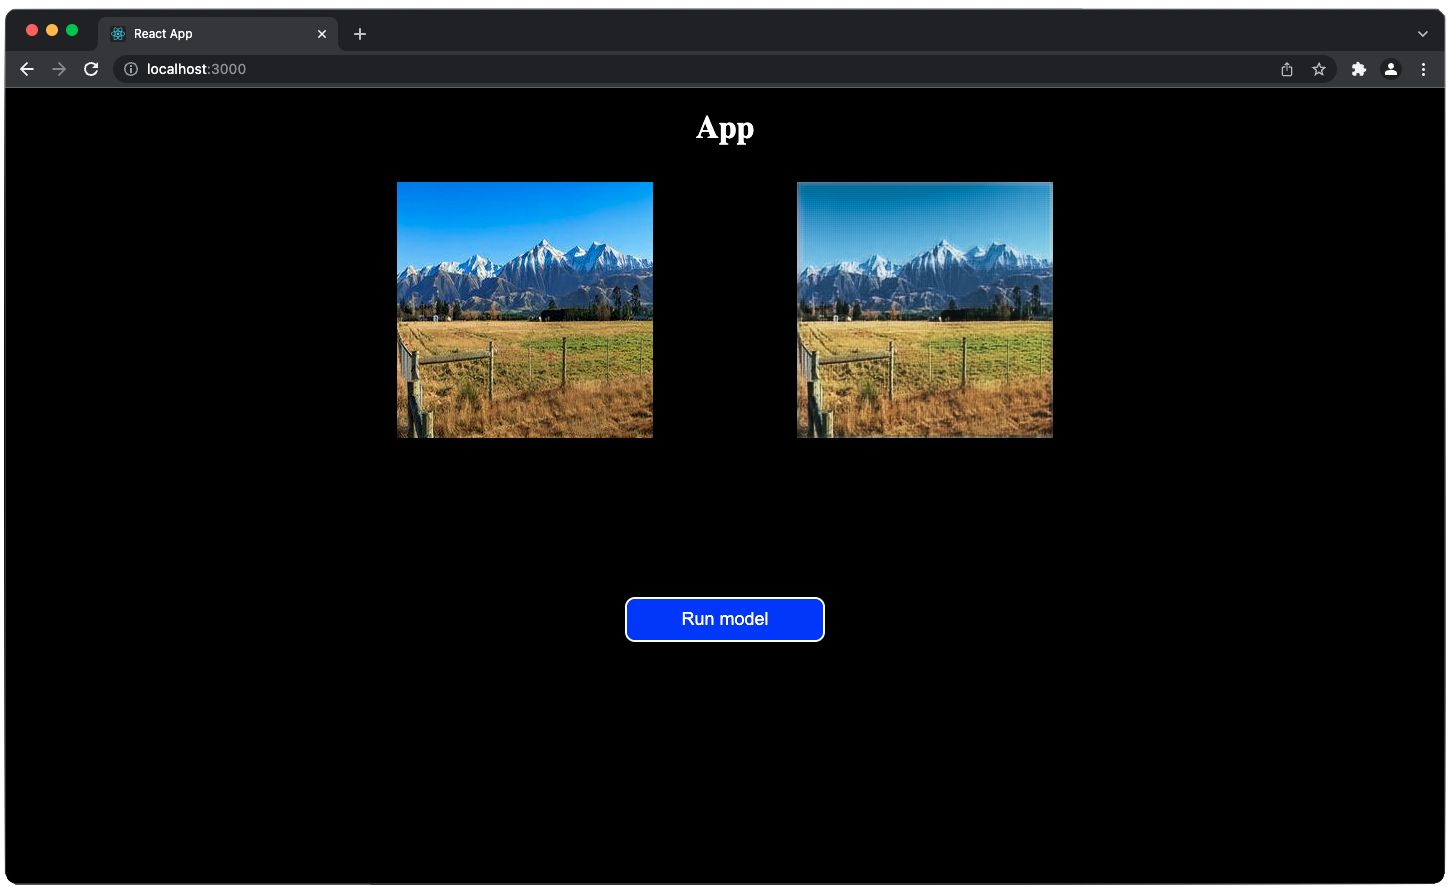
In this final part of the series, we develop the React application shown in figure 1, which uses a TensorFlow model in the browser. In the first part, we have developed and trained a fully convolutional model. In the second part we have converted it into the TensorFlow.js format. If you haven’t done these parts you can also use the model I provide for this part.
I have also made a video with the same content as in this post so check it out if you prefer watching.
Setup
As a first step, we have to install Node.js and with it the Node.js package manager npm. Either use the installer or run
npm install -g npm
Next, we can initialize a new React project in any folder, in my case part3_web_app. We use Create React App by running
npx create-react-app tfjs-app
which creates skeleton code for an app, and more importantly installs packages and configures tools like Babel and webpack which are required to make the app.
Navigate into the app folder
cd tfjs-app
where we can see the folder src which contains the code for the app. We don’t need most of it here so we delete all content of this folder and add an image named image.jpg to it. This is the image we will display.
/src
image.jpg
Next, we have to tell our app that we want to use TensorFlow.js. There are two main ways to do so. The first is using script tags. We chose the second where we install it with npm like so:
npm install @tensorflow/tfjs-node
This allows us to later use TensorFlow.js with the import statement. Now the configuration is complete and we can write the code for the app.
Developing App
Our app will have three main JSX elements: an image element for the input, an image element for the output, and a button to run the model. We combine these elements in a component we call <App />.
To implement this structure we first create a file index.js in the folder src. In this file, we render the component <App /> to the root DOM. The file then looks like this:
import React from 'react';
import ReactDOM from 'react-dom';
import App from './app';

ReactDOM.render(
 <App />,
 document.getElementById('root')
 );
Note that we must have a file name index.js since it is the JavaScript entry point into the app and that all files must be in the folder src, otherwise webpack won’t see them.
Now that the rendering part is completed, let’s implement the component. Create two files app.js and app.css next to index.js. The source folder should contain the following files now:
/src
image.jpg
index.js
app.js
app.css
Next, let’s write the app component. In the file, app.js add the imports
import React from 'react';
import * as tf from '@tensorflow/tfjs';
import './app.css';
import exampleImage from './image.jpg';
and then the function App which is the definition of the component:
function App(props) {
   return (
       <div className="main">

</div>
   );
}

export default App;
We have a top level JSX element <div className="main"></div>. We expose the component using the export default statement so the import in index.js works.
At this point we can run
npm run start
to make a development version of the app and view it. This opens up a blank page at http://localhost:3000.
Now we add all elements to it. The images are shown in an image container. For the output, we use a <canvas> element while the input uses an <img /> element.
function App(props) {
return (
<div className="main">
<h1>App</h1>
<div className="imageContainer">
<img className="myImage" src={exampleImage} alt="Image" height={256} width={256} />
<canvas className="myImage" id="canvas" width={256} height={256}> </canvas>
</div>
<div className="myButtonPos">
<button className="myButton" >Run model</button>
</div>
</div>
);
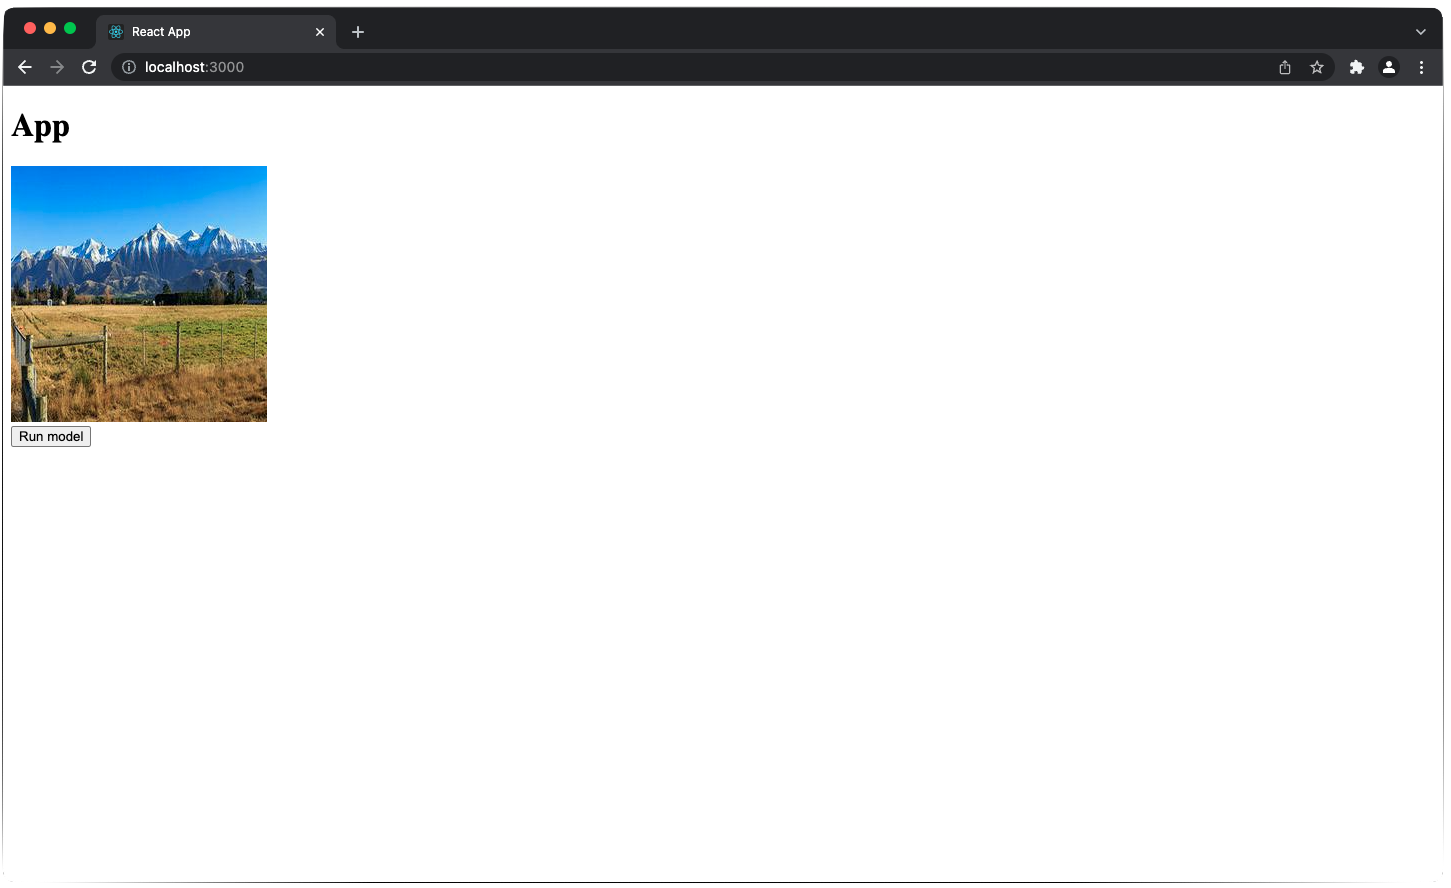
}When looking at the app in the browser, we should see the elements we’ve defined so far except the blank canvas (it is blank), see figure 2.
Adding TensorFlow.js
Now it’s time to add TensorFlow.js to it. In the file app.js, we define a function runModel() which downloads the TensorFlow.js model, loads the input image, runs it through the model, and displays the result in the canvas as output. This function is asynchronous since loading the model can take some time and we don’t want the app to freeze.
async function runModel() {

}
Loading the model
To load the model, we use the .loadGraphModel() API since we converted the model from a Python trained model (use loadLayersModel() if you have a tf.layersModel). This method returns a Promise that contains the model when fulfilled.
const model = await tf.loadGraphModel('https://raw.githubusercontent.com/daved01/tensorflowjs-web-app-demo/main/models/fullyConvolutionalModelTfjs/model.json');You can just copy this line and your code will use my model. If you want to use your own model, replace the path. Note that if you host a model in Github, you must use the path to the model.json in raw format, otherwise you will receive an error. Also, the repository should be public. You can pass credentials along with loadGraphModel() but I haven’t tried.
Transforming the Image
Once we have the model, the next step is to prepare the input image. We have to transform it into a TensorFlow tensor of shape (1,256,256,3).
// Get content image
let image = new Image(256,256);
image.src = exampleImage;

// Convert image to tensor and add batch dimension
let tfTensor = tf.browser.fromPixels(image);
tfTensor = tfTensor.div(255.0);
tfTensor = tfTensor.expandDims(0);
tfTensor = tfTensor.cast("float32");
To load the model, we first instantiate an HTMLImageElement instance which can hold our image, which we assign in the next line.
Once the image is loaded, we can create a TensorFlow.js tensor from it with the method fromPixels(). Finally, we scale it to the range [0,1], add the batch dimension and cast it to float32.
Finally, we can pass this tensor to the model and obtain the result pred.
// Run image through model
const pred = model.predict(tfTensor);
Displaying the Result
To display the result as an image, we have to transform the resulting tensor. As a first step we remove the batch dimension with .squeeze().
Afterwards, we scale the image. The model’s output is in the range [-1,1] since we used a tanh as final activation function in the model, so we must bring it into the range [0,1] by scaling with \(image\_in \cdot 0.5 + 0.5\).
// Convert tensor to image
let outputTensor = pred.squeeze();

// Scale to range [0,1] from [-1,1]
outputTensor = outputTensor.mul(0.5);
outputTensor = outputTensor.add(0.5);
The image is now represented in a tensor with pixels in the range [0,1].
To draw the output to the canvas element we first get a reference to the canvas. Then, we can use the method .toPixels() to draw the tensor.
// Prepare rendering of the result
const canvas = document.getElementById('canvas');
await tf.browser.toPixels(outputTensor, canvas);
Connection Function to Button
Finally, we connect the function to the button by adding the function to the onClick attribute.
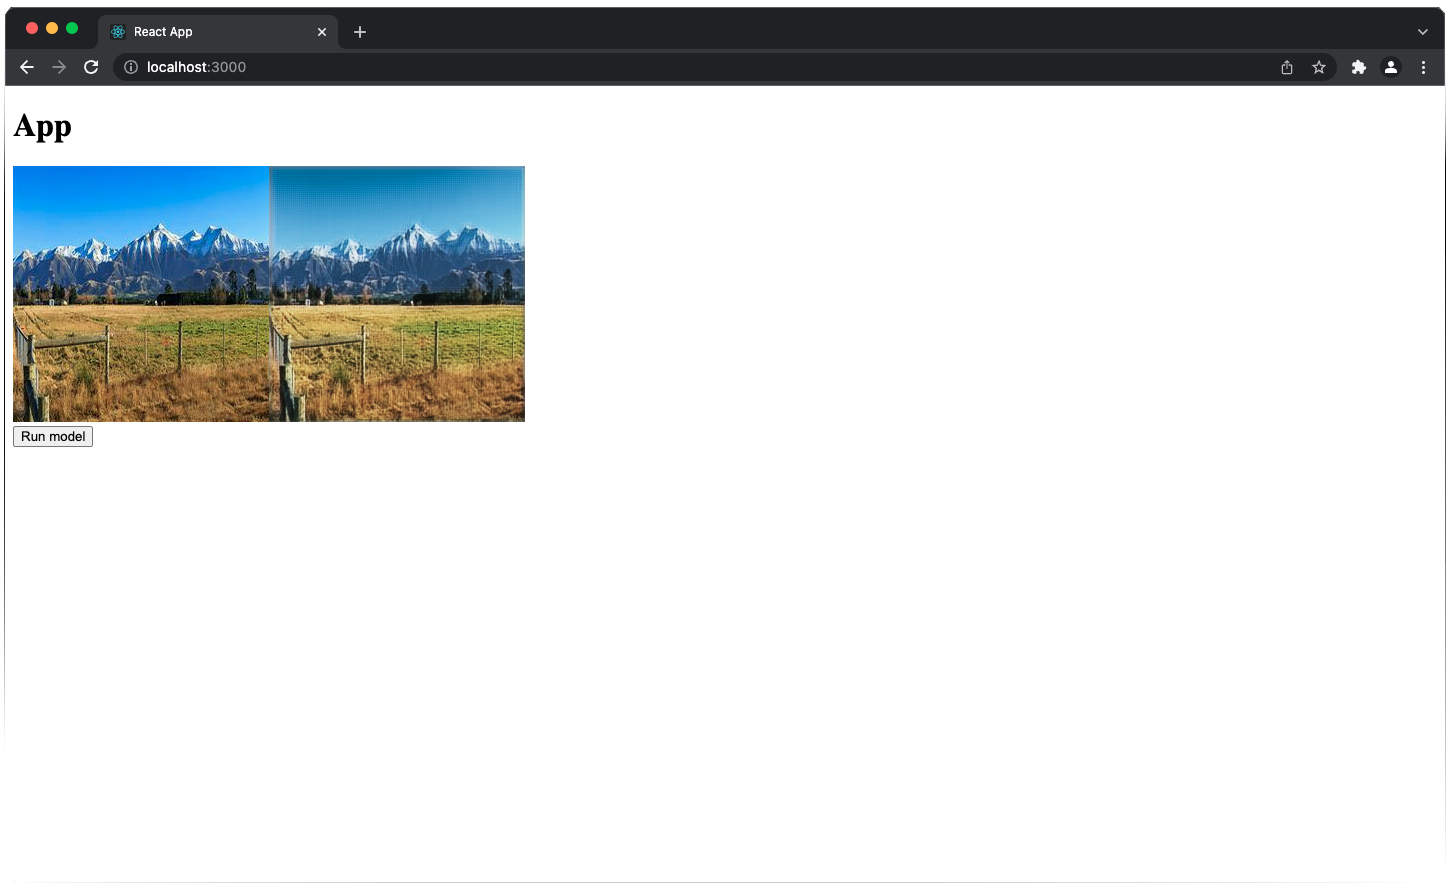
<button className="myButton" onClick={runModel}>Run model</button>When we press the button, the function is invoked and the output presented in the app, see figure 3.
Styling the App
Our app functions correctly, but it looks quite ugly. Let’s fix that by adding some styling to app.css. We already defined some class names for the components so we can easily change their styling now.
First, let’s change the heading and change the background colour to black.
h1 {
   text-align: center;
   color: white;
}

.main {
   position: fixed;
   top: 0;
   left: 0;
   bottom: 0;
   right: 0;
   overflow: auto;
   background: black;
}
Next, we add some space between the input and output image.
.imageContainer {
   display: flex;
   flex-direction: row;
   justify-content: center;
   align-items: center;
}

.myImage {
   padding: 1% 5%;
}
Finally, we align the button underneath the image and centre it. We also give it a beautiful blue colour and change the font to white.
.myButtonPos {
   padding-top: 10%;
   text-align: center;
}

.myButton {
   background-color: blue;
   color: white;
   border-radius: 10px;
   border: 2px double white;
   text-align: center;
   font-size: 18px;
   padding: 10px;
   width: 200px;
}
Conclusion
We have developed a React app which can display an image and run this image through an image transformation model which was trained in a Python TensorFlow environment.
After we have seen the basic steps required to make the app it can now easily be extended. For example, we could replace the model with a better one, or include a file upload instead of using a hard-coded image example.